

How To Set Up V Brakes Properly
Over time, whatsoever bike brake will demand to be an adjustment to ensure brake efficiency, ability, and the rubber of the rider. The linear-pull, also known equally the five-restriction type, is no exception to that. In that location are diverse reasons as to why your brakes demand to be an adjustment, such every bit the following:
- The brakes can be rubbing on the rim
- They might not exist tight enough
So with that said, how practice you conform your linear-pull or v-brake? In this tutorial, we cover some like shooting fish in a barrel steps on how to make adjustments on your ain.
Contents
- 1 What you'll demand
- two Steps on how to conform the linear-pull or v-brake
- two.i one. Check the alignment
- 2.two 2. Release the brake
- 2.three three. Arrange your barrels
- 2.iv iv. Cablevision and pad adjustments
- 2.5 five. Even out the brake arms
What you lot'll demand
- Phillips head screwdriver
- five mm Allen wrench
- naught-necktie (optional)
Steps on how to adjust the linear-pull or v-brake
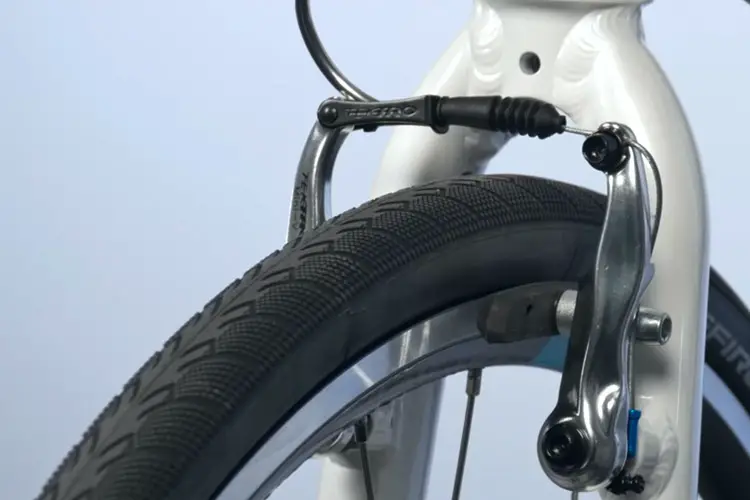
1. Check the alignment
Before you starting time, brand sure that your wheels are true to alignment. Keep in listen that a properly aligned set of wheels will increment your braking performance. Before adjusting any type of brake, whether it'southward a rim restriction or a disc restriction, make sure that the wheels are completely in the dropouts.
Then, put your bike on the ground and release the front-quick release. Make sure that the wheel is in the dropouts, and and then lock the quick-release in one case more. Practice this procedure for both the forepart and the back wheel of your wheel.
Adjacent, put your bicycle upward into a bicycle stand for better maintenance visibility so that you can adjust your brake pads with bang-up ease. Y'all should also cheque the restriction levers: you'll want two finger lengths between the handlebar and the brake when y'all clasp. If it goes into the handlebar, the brake there is not tight plenty.
2. Release the brake
Adjacent, take your optional zip-tie and then wrap it around the very dorsum end section of the brake pad. This step will create a tow-in on the brake pad. You might be wondering what this procedure is for – such tow-in will keep the brake pads from squealing as you ride.
Always remember that a silent wheel while riding is always important (which also saves your parts from easily wearing out).
3. Adjust your barrels
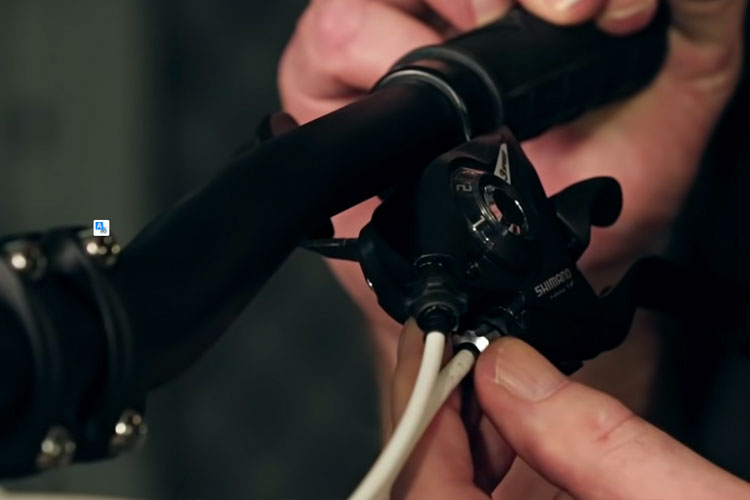
After you've released the brake, attach the cable dorsum into the little cage and and then get to the barrel adjuster. Side by side, adapt your barrel out nearly 6 turns.
Inspect your brake barrel on the lever and wait for the little slot on the barrel adjuster for the cablevision to slide in when you are replacing the cablevision. Use that equally a reference point.
After you plough the butt 6 turns, you should see a flake of thread showing from there. What loosening the barrel does is that information technology gives you lot a tighter brake. Unremarkably, if your linear-pull brake merely needs small adjustments, a simple barrel adjustment will be sufficient.
4. Cable and pad adjustments
This is a pace that you can get through if loosening the barrel didn't piece of work in tightening your brakes. To start, utilise your 5 mm Allen wrench to remove all of the slack out of the cable.
To do this, loosen the pinch bolt using the wrench and then pull the cable while holding the two brake arms together so the pads are upward against the surface of the rim. Then, lock the cable back in. Call up that information technology doesn't need to be as well tight – only make sure that it is dainty and snug.
Make sure that when you align it, the summit should exist every bit far as the braking surface on the rim as possible without hit the tire.
- If yous align information technology too low, as the pad wears, information technology will tend to migrate down the braking surface a little bit, and eventually, it will fall off the bottom of the rim.
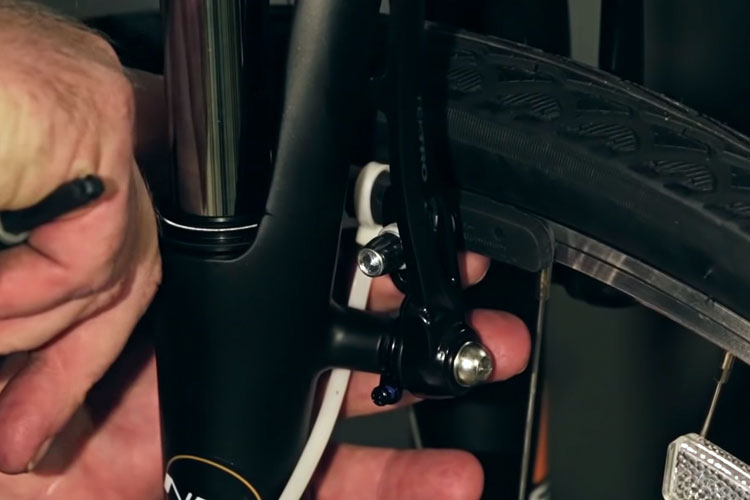
Take your 5 mm Allen wrench and loosen the bolt. And then, move your restriction pad upwards as loftier every bit you can. It could be a little besides tight simply that'southward because we took all the slack out of the cable before. Slide it up and make certain that the pad is as high as it volition go. The front border of the pad should be in the same location north the rim as the dorsum section of the pad.
Check to meet if the pad is completely apartment upwards confronting the rim surface: get out the barrel adjuster open so that the rim is just barely rubbing forth the brake pads.
- As you tighten the barrel adjuster, since the cable is already tight again, it should open up but perfectly so that your brakes are the exact tension that you want them without rubbing on the wheel.
Lock the pad into place, which aligns the unabridged brake pad system. Do the same step on the other side. Then, measure if your brake lever has a two-finger length to know if the tightness is just right.
5. Even out the brake arms

To balance out your brake arms, turn your barrel adjuster back in 6 turns. Remove the nothing-tie from earlier and then pull on your restriction lever several times. Check to observe an fifty-fifty spacing of the brake pads coming off the rim on both sides.
Ideally, you lot'll want your brake pad to come off the same amount as the opposing brake pad. To practise this, use a Phillips head screwdriver and adjust the Phillips caput screw at the lesser. This step will adjust the jump tension on this brake arm only.
Once you screw it in, information technology also increases the deflection of the restriction arm off the pad. You will see that one brake arm is moving a lot while the other arm isn't moving that much once you try to pull the restriction. What this does is unbalance the system by putting more than spring tension on one side than the other.
To fix this, yous can either release the tension from this side or increase the tension on this side. This is how you balance out the rim pads. In the end, be certain that the pads practise not bear upon the tire to avert getting squealing sounds.

How To Set Up V Brakes Properly,
Source: https://skybikewpb.com/how-to-adjust-linear-pull-v-brakes/
Posted by: meekhimmost.blogspot.com
0 Response to "How To Set Up V Brakes Properly"
Post a Comment